Our Golf Course
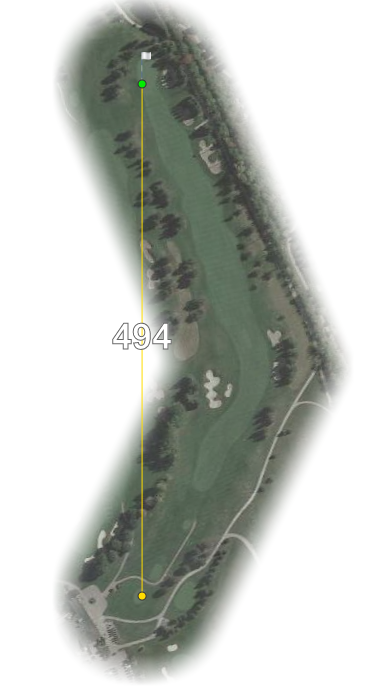
Hole 1 – Par 5
Your round at Upper Unionville begins with a great dog-leg left par five. Bombers will take their drive over the left-hand side bunkers, but the safe play is right down the middle. A tricky green to start, par is a good score here.
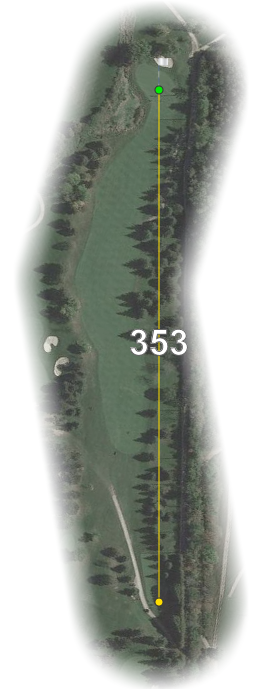
Hole 2 – Par 4
Hole Two will force you to manage your game and formulate a strategy off the tee, as it can be played a number of ways. For bombers, take fairway wood from the tee and come in with a good yardage to a green that is shielded by water. For others, your angle into the green as a second shot and approach must be precise, as the green slopes back to front and is slick if you find yourself above the hole.

Hole 3 – Par 3
Hole Three is a deceptively difficult par three that at first glance looks fairly simple. The tee decks are positioned to aim you right of the green, so be careful here. A bigger green that is well guarded by bunkers, and susceptible to head on winds most days. Making three or better is a job well done.

Hole 4 – Par 4/5
Four is a strong par four with bunkers strategically placed in landing areas, so place the tee shot well. Out of bounds borders the right hand side so if you are going to miss, miss left. The green is sloped back to front and is fairly slick, so make sure to be below the hole.

Hole 5 – Par 5
Hole Five is a second shot hole as the trees narrow the closer you get to the green. It makes going for this par five in two a daunting prospect. If you hit it long you can take it over the right hand bunkers, but beware the out of bounds border on the right hand side.

Hole 6 – Par 3
Hole Six is a great par three that will test your short game. With the right side almost completely shielded by water, make sure you have the right club on the tee. Bogey or worse can sneak onto your scorecard very quickly on this clever and deceptive hole.

Hole 7 – Par 4
Hole Seven is the number two handicap hole for a reason. The tee shot feels like you are hitting through a shoot and plays into the wind most of the time. Hazards abound, with out of bounds on the right and a river that runs down the left, make sure you hit the fairway here. Escaping with par here would make even Harry Houdini impressed.

Hole 8 – Par 3
Hole Eight is another solid par three with plenty to make you nervous. Almost completely protected by water the wind will also make you think twice about flag hunting. The green is narrow and undulating, so pick your club wisely.

Hole 9 – Par 4
Nine is ball striker’s hole. With water all the way down the right, plus bunkers down the left, it is critical that you place the ball in the right spot from the tee. The green slopes towards the water, so be careful not to flirt with the right side of the green or you’ll be dropping one from the fairway.

Hole 10 – Par 5
Hole Ten is a straightaway par five that can be a two shot hole if hit well enough off the tee. Choose your club wisely on the approach as a creek runs in front of the green. Potential eagle could turn into bogey quickly.
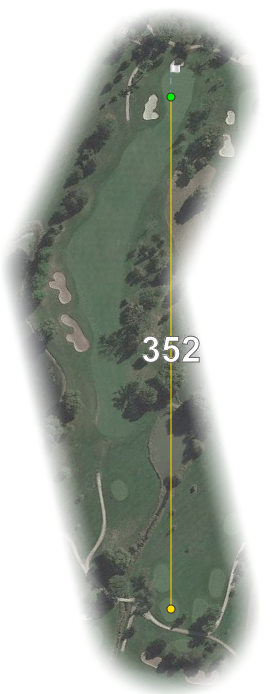
Hole 11 – Par 4
Hole Eleven is a sharp dogleg right where ball placement is key. Off the tee you have a true risk/reward decision to make. If you gamble and play over the trees on the right you’ll have a short pitch onto the green, but for those who play cautiously straightaway your approach will require a full iron shot. A well protected green will test you here as well.
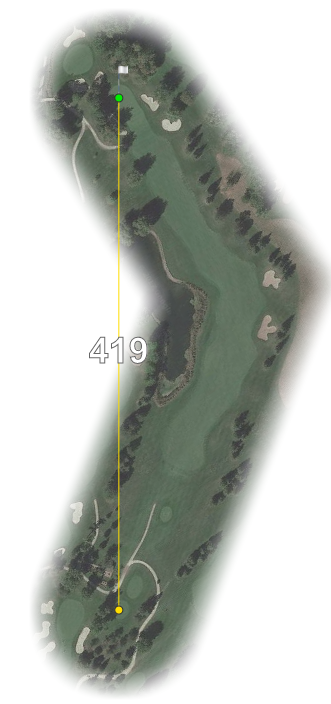
Hole 12 – Par 4
The hardest hole on the golf course, Hole Twelve will demand your very best. Bombers will try to carry the water on the left but be wary that the wind affects this hole greatly. Risk-averse players will drive their tee shot towards the bunkers on the right, and play a longer second shot in.
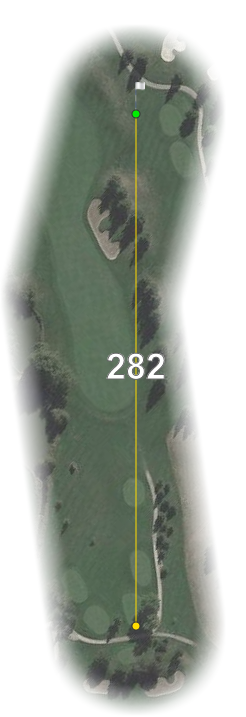
Hole 13 – Par 4
Another good par four where driver is not necessarily the best option off the tee. It’s best to play out with a fairway or hybrid to a comfortable yardage. A narrow, undulating green will force a good shot on your approach. Try to be below the hole here.

Hole 14 – Par 3
A slightly uphill par three, this plays into the wind most of the time. It’s wise to take an extra club here. The green is protected heavily by bunkers, with tricky breaks throughout that if not examined tediously can lead to many a missed putt.
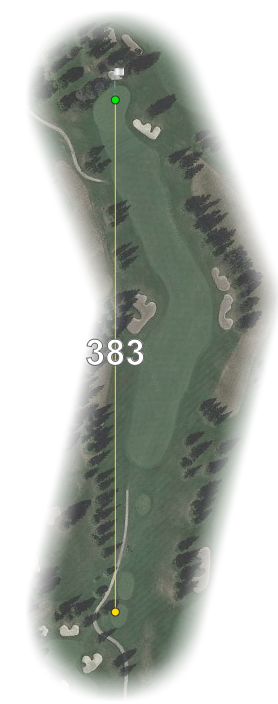
Hole 15 – Par 4
Fifteen is another risk/reward hole. For the longer hitters, over the bunkers left will leave you with a shorter pitch shot in. Wind can affect your decision making here, as a lot of players opt to hit it towards the bunkers right and take a longer approach shot in. A sloping green can cause for difficulty putting, so place your approach sensibly.

Hole 16 – Par 3
Many scores have come unraveled at Sixteen. Our Signature hole is both beautiful and deadly. The wind tends to swirl here so be sure to take care when selecting your club here. A birdie on an island green can put any player in a good mood, while a bogey can bring an equivalent low feeling of distaste. A GIR is always a good thing!
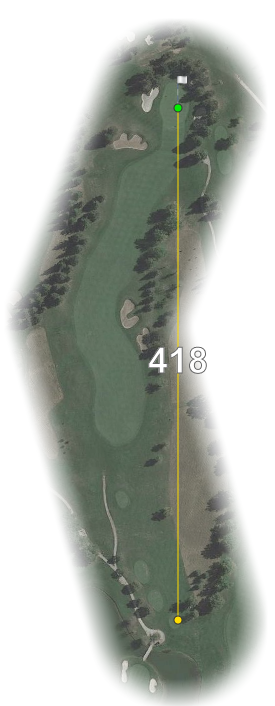
Hole 17 – Par 4
Risk/reward again at Seventeen. Longer players will want to aim over the bunkers right, but most will want to aim left to avoid trouble. A big green here, so make sure you have the right yardage.
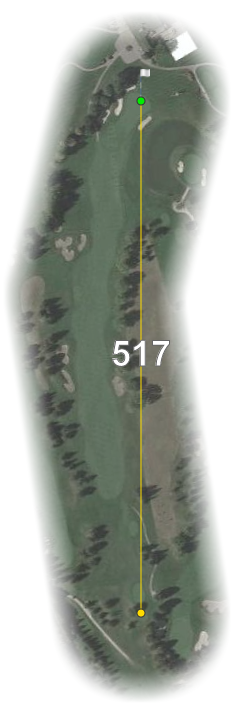
Hole 18 – Par 5
A great par five finish. This is a hole where you can blast away from the tee. If you can, favour the left side as it sets up for a more versatile second shot. Be sure to stay left as water guards the right side. A long green greets your approach so double check your yardage. A view of the clubhouse and valley holes from the eighteenth green is an excellent way to finish up and reflect on your round at Upper Unionville!